Nachrichten&Führer
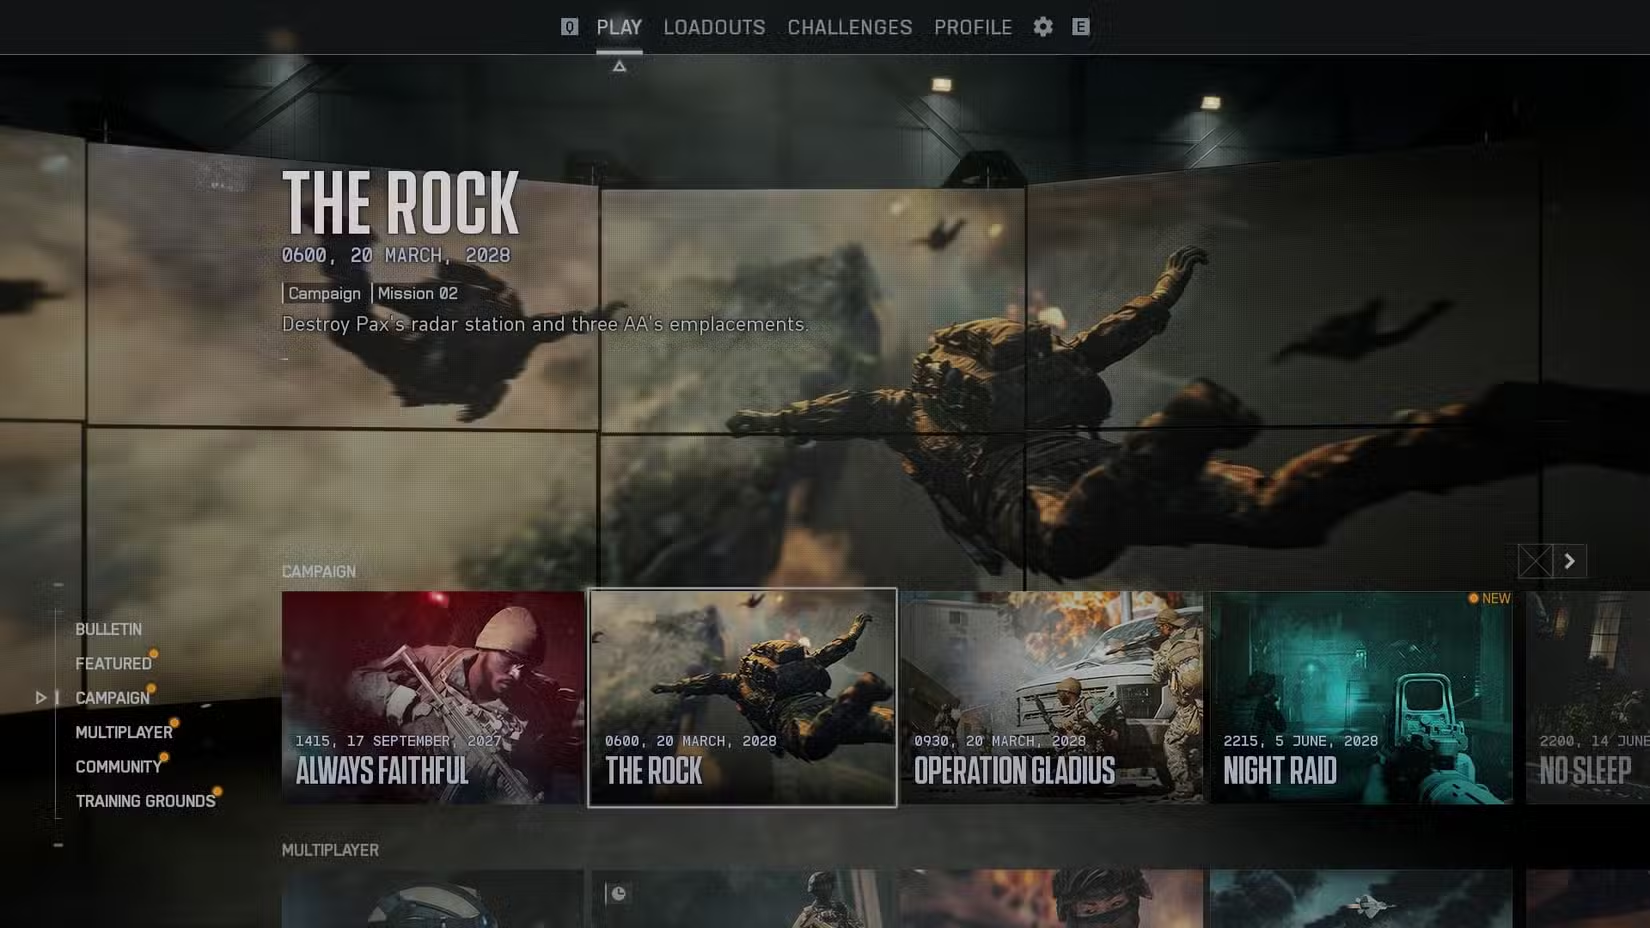
How to Complete The Rock Mission
From Precision Sniping to Teamwork

In the “The Rock” mission, the support gunner role is one of the key factors for mission success. This mission begins with the tense preparation phase inside the high-altitude transport plane, where you will play as a member of Gecko Squad, parachuting onto the target island amidst a hail of bullets.
Air Drop Phase and Initial Positioning
The mission starts with your team inside the transport plane, preparing for a high-altitude air drop. The aircraft is under heavy fire from outside, and you need to jump out of the cabin at the right moment. During the descent, you will have the opportunity to observe the entire island’s terrain through the clouds and smoke. Pay attention to your landing spot selection—try to avoid obvious high-threat areas, such as enemy armored vehicle gathering points or anti-aircraft gun positions.
After landing, immediately turn around and search for the first collectible (Grigorios Kypri’s dog tags). It is located to the right of the stone bunker directly in front of you, on a blue box next to a low wall. This collectible is easy to miss because the mission will immediately guide you to push forward, so make sure to retrieve this item before following the squad.
Table: Key Mission Nodes and Counter-Strategies
| Mission Phase | Primary Objective | Key Techniques | Common Mistakes |
|---|---|---|---|
| Air Drop Phase | Land safely and get positioned | Observe terrain, avoid heavy fire areas | Opening parachute too early or improper landing spot selection |
| Initial Collectible | Acquire dog tags | Immediately turn around and search the right side of the bunker | Blindly following the squad forward and missing it |
| Forest Path | Follow the squad leader | Stay alert, use trees as cover | Separating from the squad or moving too fast and exposing position |
| Machine Gun Nest | Eliminate the machine gunner | Precision sniping, prioritize headshots | Rushing the shot and alerting other enemies |
| Area Clearing | Eliminate remaining enemies | Use cover, wait for enemies to expose themselves | Continuous shooting exposes the sniper position |

Forest Path Navigation and Enemy Reconnaissance
After acquiring the collectible, return to the main objective, following the squad leader along the forest path. This path is relatively concealed, but you still need to remain vigilant. The forest provides good cover, but it may also hide enemy scouts. When moving, try to use trees and rocks as cover, avoiding prolonged stay in open areas.
Changes in the path’s slope will affect your movement speed and shooting stability. Movement speed will decrease when going uphill, while downhill might increase speed but reduce control. As a sniper, you need to find a balance—neither falling behind the team nor being overly aggressive.
Machine Gun Nest Clearance Strategy
When approaching the target area, the game will prompt you to use the sniper rifle to eliminate the distant machine gunner. This machine gunner is suppressing Lancer Squad, but fortunately, he has not noticed your presence. This provides you with valuable preparation time.
Selecting the ideal sniping position is crucial. Look for a place with stable support, such as a rock or tree trunk, which can increase shooting stability. The prone position is the most stable shooting stance, significantly improving accuracy. If time permits, you can use the bipod to further stabilize the weapon.
Be patient and wait for the best opportunity when aiming. The machine gunner moves regularly, and his head is periodically exposed. Use the scope to follow his movement pattern and predict the location of his next exposure. Holding your breath is a key technique—pressing the corresponding button (usually Shift or L2/LT) momentarily before firing can temporarily stabilize the crosshair.
One-shot kill is the sniper’s foremost principle. Aim for the head to ensure the target is eliminated immediately after the bullet hits. If the first shot misses, the machine gunner will immediately become alert and may turn to shoot in your direction, greatly increasing the difficulty.
Area Clearing and Subsequent Actions
After eliminating the machine gunner, use the sniper rifle to clear the remaining Pax Armata soldiers in the area. These soldiers usually hide behind obstacles, requiring patience for them to expose parts of their body. Observe their movement patterns—most enemies will periodically peek or change positions.
Prioritize clearing enemies that pose a direct threat to Lancer Squad. Enemies in an attacking position or holding heavy weapons should be dealt with first. Also, be aware of enemies possibly flanking from the sides, as they might try to get behind your squad.
Ammunition management is particularly important in this phase. Sniper rifle ammunition is usually limited, so ensure every shot is valuable. If possible, mark enemy positions for teammates to assist with, rather than trying to take on all targets alone.
After clearing the area, rendezvous with Lancer Squad, preparing to enter the next phase of the mission. At this point, it’s recommended to check equipment status, replenish ammunition (if there are resupply points), and prepare for potentially intense firefights.
Advanced Tips and Troubleshooting
Environmental factors can affect sniping effectiveness. Strong winds can cause the bullet to deviate from the target, requiring adjustment of the aiming point based on wind direction. Distance also affects trajectory—targets beyond 200 meters require slight elevation of the crosshair. The sniper scope in the game usually has a ranging function; utilizing it well can improve long-range accuracy.
If the mission progress gets stuck, it might be due to an undiscovered enemy. Carefully check the entire area, especially hidden corners and inside buildings. Sometimes enemies may be stuck behind obstacles, requiring you to get closer to trigger them.
Teamwork in multiplayer can significantly improve efficiency. If you have teammates cooperating, one person can act as a scout, marking enemy positions, while the sniper focuses on precision shooting. This division of labor can clear area threats faster.
Radar Station Destruction Operation

In the radar station destruction segment of the “The Rock” mission, precise execution of every step is crucial for ensuring mission success. This part begins with the squad regrouping in the tunnel system and ends with the successful destruction of the radar station and safe extraction, requiring players to seamlessly switch between stealth, sniping, and teamwork.
Squad Regrouping and Tunnel Infiltration
After linking up with squad members, the team decides to flank the radar station through the tunnel system. The tunnel entrance is located to the left of the main path, partially covered by vegetation, requiring careful searching. Before entering the tunnel, ensure the entire squad is ready, especially checking ammunition and equipment status, as there might be no resupply opportunities inside the tunnel.
The tunnel interior is dimly lit but relatively safe. Use night vision or a flashlight to improve visibility, but be careful not to expose the light source too early. The tunnel structure is complex, with multiple forks; be sure to follow the mission marker. At the split point, your squad will divide into two groups—your group goes left, and the other group goes right. This division allows you to approach the radar station from unexpected angles.
There are a few enemies patrolling at the tunnel exit; it is recommended to silently eliminate them using melee weapons or suppressed weapons. The exit location provides an initial view of the radar station, which is the best time to plan subsequent actions. Mark all visible enemy positions to prepare for the upcoming sniping operation.
Table: Key Nodes and Strategy for the Tunnel Infiltration Phase
| Phase | Primary Objective | Notes | Recommended Equipment |
|---|---|---|---|
| Entry Locating | Find the concealed tunnel entrance | Be aware of possible patrols around | Suppressed pistol, night vision goggles |
| Tunnel Navigation | Follow the correct path | Follow mission marker, avoid getting lost | Flashlight, map |
| Split Point | Split up with the squad | Confirm respective routes and objectives | Communication device (for coordination) |
| Exit Clearing | Clear enemies near the exit | Avoid triggering an alarm | Melee weapon, suppressed rifle |
Sniping Position Establishment and Target Elimination

After exiting the tunnel, quickly establish a temporary sniping position. The ideal position is a small hill slightly above the radar station, with natural rock cover, while providing a good field of fire. The prone position minimizes the chance of being discovered while increasing sniping stability.
Target elimination needs to follow a specific sequence. Prioritize enemies directly threatening the teammates’ path, then communication equipment and alarm operators. If the enemy triggers an alarm, reinforcements will be called in, greatly increasing mission difficulty. When using a semi-automatic sniper rifle, control the rate of fire, avoiding shooting too quickly and exposing your position.
High-value targets include officers, snipers, and heavy weapon operators. These targets should be eliminated first, as they pose the greatest threat to the squad. Officers can command and mobilize more enemies, while heavy weapon operators can inflict severe damage on your team. Use the focus mode of the sniper rifle to aim more precisely at these key targets.
Environmental factors can affect sniping effectiveness. Wind speed and distance need to be factored in—targets beyond 200 meters require slight elevation of the crosshair. The sniper scope in the game has a ranging function; utilizing it well can improve accuracy. If the first shot misses, immediately change position, as the enemy will search in the direction of the gunshot.
Watchtower Defense and High-Value Target Engagement

After clearing the perimeter enemies, enter the watchtower to establish a commanding position. There might be a few enemies guarding the tower; use a pistol or submachine gun for close-quarters clearing. Be aware of enemies possibly appearing above when climbing the stairs; it’s best to throw a grenade or flashbang to clear the area first.
Upon reaching the top of the tower, the field of view is greatly improved, but you are also more easily exposed. Use the tower’s protective wall as cover, only exposing the necessary parts for shooting. At this point, Pax Armata forces will launch a fierce attack, and your mission is to protect the teammates below.
High-value targets will appear sequentially: first, enemy snipers, usually located in the opposite tower or behind rocks; then, an armed truck equipped with a machine gun, which can inflict severe damage on the squad; next, rocket-propelled grenade soldiers, who can destroy cover and vehicles; and finally, transport helicopters will drop reinforcements.
Use the “Engage Ready” function to mark enemies to make it easier for teammates to identify threats. Marking high-priority targets can guide the squad to concentrate fire, quickly eliminating the greatest threat. Helicopters are the most dangerous targets; attempt to shoot them down or at least drive them away before they deploy troops.
Radar Station Demolition and Extraction Strategy
When the area is clear, Lancer Squad will install explosives to destroy the radar station. Your mission during this time is to provide continuous cover, preventing remnant enemies from disrupting the demolition. Be aware that there might still be guards inside the radar station, ensuring they do not attack your teammates from behind.
After the demolition is complete, immediately evacuate from the watchtower. Do not linger in the fight, as enemy artillery shelling will start soon. Choose a path with cover for the extraction route, avoiding open areas. Use smoke grenades for cover during the retreat to avoid becoming an easy target.
Enemy shelling is patterned—it usually covers open areas first, then gradually extends towards cover points. The underground passage offers the best protection, but the entrance might be blocked by shelling. Wait for a lull in the shelling to move quickly, and do not stay in the same position for too long.
There might be a few enemies in the passage, but the main threat comes from pursuers behind. Setting trip flares or explosives can slow down the enemy’s pursuit speed. Finally, the team will reach the extraction point, concluding this chapter of the mission.
Advanced Tips and Troubleshooting
Difficulty settings affect enemy numbers and reaction speed. On higher difficulties, enemies are smarter and will attempt to flank and suppress your position. Adjust your strategy, changing positions more frequently to avoid being locked down.
If the mission progress gets stuck, it might be due to an undiscovered enemy or objective. Use reconnaissance equipment or decoys to draw out hidden enemies. Sometimes, you need to intentionally expose your position to draw enemy fire, but this is a high-risk strategy.
Teamwork is essential for success. Even as a sniper, you need to maintain communication and coordination with teammates. Report enemy positions and types in a timely manner to help teammates plan their actions better. Good communication can prevent accidents and friendly fire.
Governor’s Battery Operation
In the highlight of “The Rock” mission, the “Advance to the Governor’s Battery” segment, players will experience multiple environmental transitions from dark tunnels to historical ruins, with the ultimate goal of destroying the two anti-aircraft guns protecting the Pax Armata forces.

Deep Tunnel System Exploration and Navigation Strategy
After following Carter into the tunnel system, maintaining a medium distance is the safest strategy—too close can lead to blocking each other when encountering enemies, and too far risks losing direction. The tunnel has multiple forks, but the main path usually has broken pipelines and old emergency lights as markers. Pay attention to footprints and drag marks on the ground; these often indicate the correct direction.
Midway through the tunnel, there is a collapsed area requiring you to crouch to pass; this is a potential ambush point. It is recommended to throw a flare or use the weapon’s tactical flashlight to check the situation, confirming safety before advancing. Immediately seek cover after passing, as small enemy patrol squads might appear from the opposite side.
Carter will periodically attempt to contact other squad members via radio, but these attempts mostly fail due to signal interference. When he stops to adjust equipment, the player should provide covering fire. Pay special attention to the ventilation openings on the tunnel ceiling, as enemies might suddenly drop down from these positions. Using melee attacks can silently neutralize these threats, avoiding alerting a wider range of enemies.
Table: Key Nodes and Counter-Strategies for the Tunnel System
| Tunnel Area | Main Feature | Potential Threat | Recommended Tactic |
|---|---|---|---|
| Entrance Section | Wide, lit | Patrol soldiers 2-3 people | Stealth elimination or quick clearing |
| Mid-section Collapse | Low, requires crouching | Possible ambush from above | Recon first, then pass |
| Deep Descent Section | Steep stairs, heavily rusted | Easy to make noise and attract enemies | Move slowly, control footsteps |
| Connecting Section | Multiple forks, sound of flowing water | Easy to get lost, possible ambush | Follow Carter, mark the path |
Unexpected Discovery in the WWII Museum and Resource Collection
After descending the ladder at the end of the tunnel, the player will enter a long-buried World War II-era British military museum. This environment not only offers a rich visual story but is also an important resource resupply point. There are several display cases at the museum entrance containing collectible prototype weapons and ammunition.
A high-explosive launcher is placed on the central display stand in the museum’s main hall, which is one of the key weapons for this mission. Ensure you have enough space to accommodate this new weapon before picking it up; you might need to discard a secondary weapon. The high-explosive launcher is particularly suitable for dealing with clustered light infantry, but the blast radius is large, requiring extra caution in confined spaces.
The museum’s side halls have multiple resource boxes and archives, which may contain extra ammunition, medical packs, and armor plates. Taking the time to thoroughly search these areas is worthwhile, especially when resources are scarce on higher difficulties. Note that some cabinets require prying open or smashing the glass to access the contents.
The barracks tunnel at the back of the museum is the passage to the next area, where historical uniforms and equipment are displayed. Pay attention to the maps and blueprints on the walls; these not only provide background story but may also mark hidden passages or resource points.
Emergency Combat Plan After Lights Out
When the team enters the deeper part of the barracks tunnel, the lights will suddenly go completely out, leaving only the faint green light of emergency exit signs. This is the signal for a Pax Armata ambush; enemies will surge in simultaneously from multiple directions.
Immediately switching to thermal or night vision optics is key to survival. If these are unavailable, rely on the weapon’s tactical flashlight for limited illumination. The flashlight beam will expose your position, so move constantly to avoid becoming a fixed target.
Enemies will first attempt close-quarters attacks; shotguns or submachine guns are most effective in these situations. Keep your back against a wall to avoid being surrounded. When you hear specific audio cues (like metal clanging), it indicates the imminent appearance of heavy armored enemies, requiring preparation of anti-armor weapons.
Carter and other teammates will provide limited support in the dark, but the main reliance is on the player’s own reaction. Use audio cues to determine enemy positions—different footsteps, breathing sounds, and equipment noises can help pinpoint the direction of the threat. Periodically throwing flares or using night vision can significantly improve battlefield awareness.

Weapon Selection and Environmental Utilization Strategy
The high-explosive launcher is an ideal choice for clearing clustered enemies, but ammunition is limited, so it should be reserved for the most necessary situations. It is most effective when used against concentrated groups of 3 or more enemies. Be mindful of recoil and the blast wave after firing, as it can also damage the player in narrow spaces.
The sniper rifle is still valuable in the open areas of the museum, capable of eliminating enemy machine gunners and officers from long range. However, after the lights go out, immediately switch to a weapon combination better suited for close-quarters combat. It is recommended to carry an assault rifle as the primary weapon, paired with a shotgun or SMG to counter close-range threats.
The red explosive barrels in the environment are important tactical resources. Shooting these barrels can trigger chain explosions, clearing surrounding enemies. But be cautious of the timing of the explosion to avoid friendly fire. A better strategy is to lure enemies close to the barrels before detonating them.
The museum’s display cases and pillars provide good cover, but note that modern weapons can penetrate these old materials. Do not stay in the same position for too long; constantly change positions to make it difficult for the enemy to target you. Utilize the museum’s elevation differences to gain a shooting advantage.
Advance Strategy and Teamwork
Once the lights are restored (after about 3-4 minutes), the team needs to advance quickly. Carter will indicate the direction, usually through the museum’s logistics passage. At this point, enemy reinforcements will continuously arrive, so it is advisable to prioritize reaching the objective point rather than engaging in prolonged combat.
Teamwork is crucial during this stage. One team member provides suppressive fire, while the other advances, and then they alternate. If playing as a medic, prioritize ensuring Carter’s survival; his death will lead to mission failure.
Reaching the anti-aircraft gun positions requires passing through a series of complex passages and rooms. Enemies might be hiding around every corner; use throwables to probe before advancing. Grenades and flashbangs are particularly useful here to clear cornered enemies or temporarily blind defenders.
Upon finally reaching the gun battery area, you need to plant explosives to destroy the two anti-aircraft guns. The placement points are usually heavily guarded, so clear the surrounding enemies before taking action. There is only a brief time to evacuate after planting the explosives, so plan your retreat route in advance.
Destroying the First Anti-Aircraft Gun

In the “Destroying the First Anti-Aircraft Gun” segment of the “The Rock” mission, tactical execution and rhythm control are key to success. This part begins at the exit of the deep tunnel system, requiring the player to transition from concealed action to active offense, ultimately destroying the critical anti-aircraft facility and repelling the enemy’s frantic counterattack.
Tunnel Exit Breakout and Path Navigation
After opening the sealed elevator shaft, maintain vigilance during the descent. The interior of the elevator shaft is dimly lit, but the environment can be seen with night vision equipment or a weapon flashlight. Listen for audio cues during the descent—enemy dialogue or footsteps can indicate the level of threat below. The moment the elevator door opens at the bottom is the most dangerous; it is advisable to throw a flashbang or smoke grenade before rushing out.
The coastal forest path provides natural cover, but limited visibility increases the risk of ambush. Maintain a distance of 10-15 meters while following Carter, allowing for timely support without the entire team being wiped out in an ambush. The bushes on both sides of the path can be used for concealed movement, but be aware that some vegetation might sway and expose your position.
Audio cues in the forest are crucial. The roar of the anti-aircraft gun increases as you approach, which is a reliable indicator of direction. Simultaneously, enemy patrol dialogue can help estimate contact time—when the voices are clearly distinguishable, it means the enemy is within 30 meters, and you need to prepare for engagement.
Table: Key Locations and Threat Analysis on the Coastal Path
| Path Segment | Terrain Features | Primary Threat | Counter-Strategy |
|---|---|---|---|
| Elevator Exit | Open ground, lack of cover | Possible ambush | Quickly disperse, use debris for cover |
| Forest Initial Section | Dense vegetation, poor visibility | Small patrol squads | Silent elimination, avoid alarm |
| Coastal Path | Exposed near the cliff edge | Long-range snipers | Keep moving, use rocks for cover |
| Approaching Anti-Aircraft Gun | Steepening slope | Machine gun nest surveillance | Seek flanking route |
Machine Gun Nest Clearance and Area Control
The anti-aircraft gun position is guarded by a machine gunner and multiple patrol soldiers. The ideal sniping position should meet the following conditions: higher than the target, stable support, and a safe retreat route. The rock formation on the left side of the position is an excellent choice, as it overlooks the entire area and has multiple retreat paths.
The clearance sequence needs careful planning. Prioritize eliminating the machine gunner, then the officer (usually wearing special insignia), and finally the regular soldiers. If possible, eliminate multiple targets simultaneously—when two enemies are aligned, one bullet can pass through both. Using a suppressed sniper rifle can delay the alarm trigger time, allowing you more clearance opportunities.
During clearance, pay attention to enemy movement patterns. Patrol squads usually move along fixed routes, with brief moments of pause. Note these moments; shooting when the enemy is still can increase accuracy. Also, be aware of shift change times—some enemies periodically return to fixed points, creating predictable targets.
Area control requires a comprehensive sweep. Even if the main targets have been eliminated, there might still be hidden enemies in buildings and trenches. Use grenades to clear suspicious corners, or have AI teammates conduct close-quarters searches. Ensure complete control of the area before proceeding with explosive installation.

Anti-Aircraft Gun Demolition and Explosive Installation
When approaching the anti-aircraft gun, be aware of its firing interval. The anti-aircraft gun operation is patterned—the reloading period is the safe window for approach. Observe 2-3 cycles, and you will be able to predict the next safe time slot.
Explosive placement is usually near the base of the anti-aircraft gun. Look for glowing toolboxes or marked areas; the interaction prompt will appear. Ensure the surroundings are safe before installation, as the installation process temporarily prevents you from shooting. Ideally, have one teammate provide cover while the other performs the installation.
After installing the explosives, the retreat route needs to be planned in advance. Do not return the way you came, as enemies will be surging from that direction. Instead, move toward the flank and find a defensive position with good visibility. Use smoke grenades for cover during the retreat to avoid becoming an easy target.
Defense Battle Preparation and Resource Utilization
Enemy reinforcements will arrive immediately after the demolition; controlling the cleared machine gun position first is key to survival. A light machine gun (such as the L110) provides sustained suppressive fire, making it an ideal weapon for dealing with clustered enemies.
Machine gun usage requires skill: burst fire is more effective than continuous spray; short bursts of 3-5 rounds maintain accuracy and control overheating. Prioritize shooting enemies carrying rocket launchers, as they pose the greatest threat to the machine gun position. Be mindful of machine gun ammunition capacity; reserve enough rounds for the final attack wave.
The defensive position should balance visibility and cover. The ideal position covers the enemy’s main avenues of attack while having solid cover to protect the flanks. Avoid standing directly behind the machine gun, as that is a common aiming point for snipers. Change firing positions periodically to prevent the enemy from locking onto you.
Cooperation with teammates maximizes defensive effectiveness: when one person operates the machine gun, others should provide flank protection and ammunition resupply. Use voice communication to coordinate fire distribution, ensuring all approaching paths are covered. When the machine gun needs to cool down, switch promptly to secondary weapons or throwables to maintain continuous fire.

Advanced Techniques and Emergency Plans
Strategy needs to be adjusted as difficulty increases. On higher difficulties, enemies are smarter and will attempt multiple flanking routes. In this case, setting trip mines or C4 on the flanking paths can provide early warning and weaken the attacking force.
Weapon selection should be based on personal proficiency. Although the sniper rifle is the initial choice, if close-quarters combat ability is stronger, switch to an assault rifle (like the NVO-228E) or SMG (like the SGX) for the defense battle.
If the mission progress gets stuck, check for overlooked enemies hiding in concealed corners. Sometimes a single enemy stuck behind a rock or inside a building will prevent mission progression. Use reconnaissance equipment or throwables to flush out these hidden targets.
Environmental interaction provides tactical advantages: destructible objects (like fuel barrels) can create chain explosions; specific terrain (like steep slopes) can slow down enemy movement. Use these elements effectively to overcome a siege with fewer numbers.
Advance to Annie’s Battery

In the “Advance to Annie’s Battery” segment of the “The Rock” mission in *Battlefield 6*, tactical choice and teamwork directly determine mission success or failure. This phase begins after the area is cleared, requiring you to lead the squad through the forest environment to link up with the pinned-down Lancer Squad, gradually advancing to the Annie’s Battery position and completing the destruction mission. The entire process is filled with dynamic combat and sudden threats, demanding flexible strategy adjustments.
Forest Path Navigation and Team Link-up
After clearing the initial area, following Carter into the forest path is the first step of the advance. This path may seem simple, but it conceals multiple ambush points. It is recommended to keep the squad spread out but within sight, avoiding clustering to become an easy target. Natural cover in the forest, such as trees and rocks, can be used to dodge enemy fire, but be aware that the enemy might flank from the sides.
Linking up with Lancer Squad is a critical turning point. They are pinned down by the enemy inside a damaged two-story building; at this point, you need to provide long-range fire support. The ideal sniping position should be elevated above the target area, with good visibility but remaining concealed. Enemies inside the building usually appear at windows and balconies; prioritize eliminating these exposed targets.
Table: Key Locations and Threat Response on the Forest Path
| Path Segment | Terrain Features | Common Threats | Recommended Tactics |
|---|---|---|---|
| Forest Entrance | Open ground, limited cover | Long-range snipers | Move quickly, utilize terrain undulations |
| Mid-section Forest | Dense vegetation, restricted visibility | Ambush squad | Alternating cover, periodic reconnaissance |
| Approaching Building Area | Changing slope, increased exposure | Machine gun nests | Use smoke grenades for covering advance |
| Link-up Point | Open ground around the building | Enemies from multiple directions | Coordinate fire with Lancer Squad |
Sniping Support and Building Destruction Strategy
The sniper rifle is the core weapon for this phase. Choose a semi-automatic sniper rifle like the M110 or a bolt-action one like the AXMC, depending on your shooting style. The priority target order should be: enemy snipers, machine gunners, officers, regular soldiers. Headshots conserve ammunition and quickly reduce threats.
When the standoff is prolonged, a teammate will dramatically end the confrontation with an RPG. This happens after a few minutes if your advance speed is slow. An RPG hitting the building will cause the structure to completely collapse, clearing the internal enemies but potentially burying collectible resources. If you want to handle it yourself, you can swap a previously acquired grenade launcher for an RPG, but you must weigh the blast radius against accuracy.
After the building destruction, be sure to check the ammunition depot beside the path. It is usually located to the left of the building wreckage, providing ammunition, grenades, and medical packs. Resources are limited, so prioritize replenishing scarce items like explosives and medical packs. The depot may also contain a weapon crate for changing or upgrading existing gear.
Helicopter Threat and Collectible Acquisition
As you advance to the next combat zone, Pax Armata reinforcements include troops and helicopters. Helicopters are particularly dangerous; they deploy additional forces and provide aerial fire. Using an RPG or grenade launcher is the preferred method for dealing with them, but be mindful of the timing—wait for the helicopter to hover or move slowly before firing to increase accuracy.
The collectible Sarah Duarte’s dog tags are located inside a specific container. Follow the squad into the next area and turn right immediately after descending the stairs into the cargo container. The dog tags are hanging next to a helmet on the internal wall, easily missed due to dim lighting. Use a flashlight or night vision gear to assist in the search. Acquiring it unlocks the “Danger Ahead” player card background.

Destruction of the Second AAA Gun and Extraction
The procedure for destroying the second AAA gun is similar to the first, but enemy defenses are stronger. A patient strategy is advised: first clear as many enemies as possible from a safe distance, then advance to plant the C4. Use high ground or cover to provide covering fire, avoiding reckless advancement.
The gun position is typically heavily guarded, including heavy armored units. Use explosives like C4 or grenades to clear the area, then quickly install the explosives. When placing C4, ensure it covers key structural points, such as the gun base and the ammunition depot, to maximize the destructive effect.
After destroying the gun, throwing a smoke grenade to signal extraction is the final step. Choose an open and visible location to throw the smoke, avoiding obstacles that might hinder signal identification. Scattered enemies may still be at the extraction point, so remain vigilant until fully evacuated.